A Tarnished's Guide to Elden Ring's Status Effects in 2026: From Poison to Death Blight
Mastering Elden Ring's status effects is crucial for victory. This guide explores Poison, Scarlet Rot, and Blood Loss to give you a strategic edge.
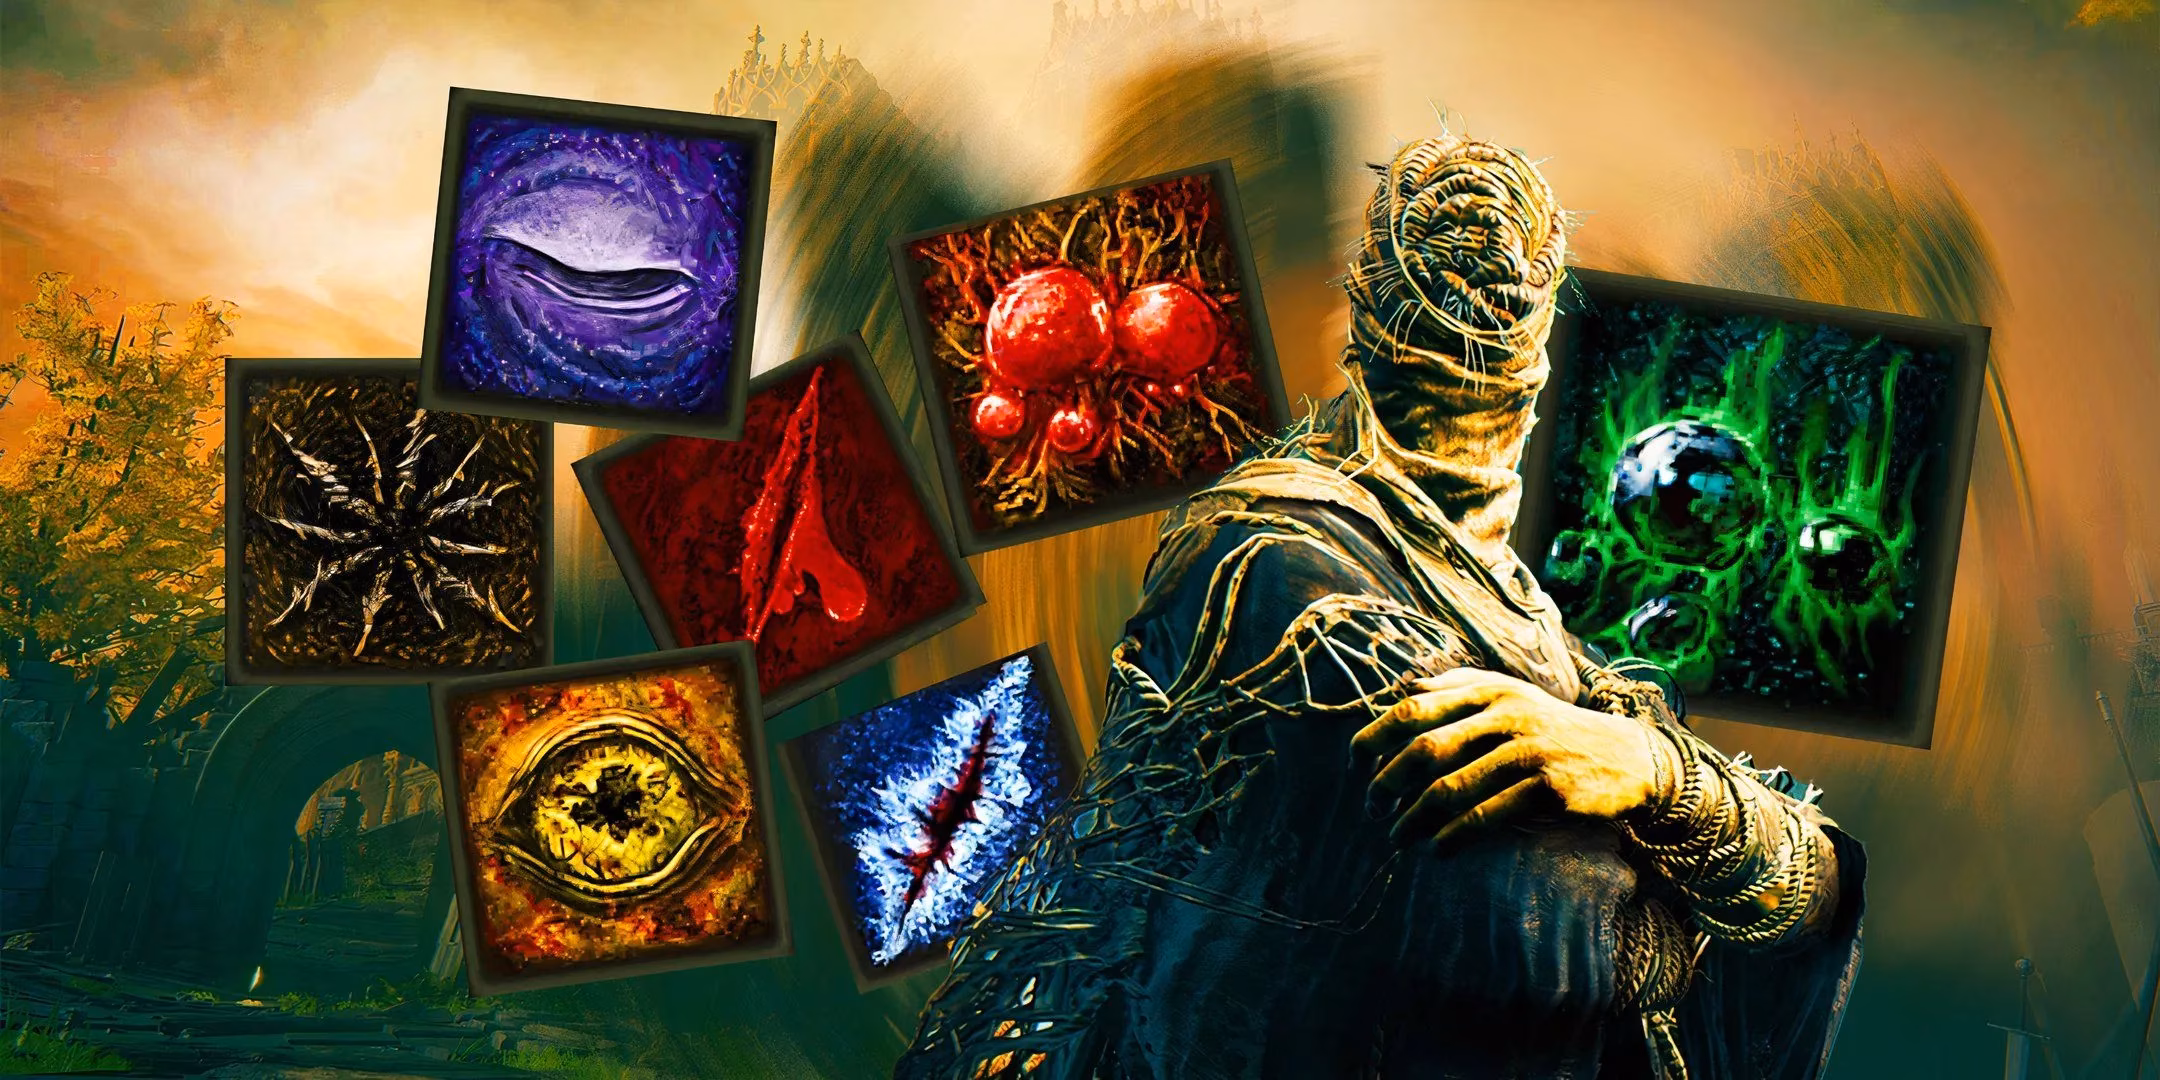
As a Tarnished who's spent countless hours, and let's be honest, died countless times, exploring both the Lands Between and the Land of Shadow, I've learned one thing for sure: knowledge is power, and knowing your status effects is the difference between glorious victory and a humiliating "YOU DIED" screen. The combat in Elden Ring, even now in 2026 after all the updates and the incredible Shadow of the Erdtree DLC, revolves heavily around these seven unique conditions. They're not just annoyances; they're tools. Learning to wield them and counter them is what separates the casual players from the true lords. It's a real 'git gud' kind of situation, but I'm here to break it all down for you.
1. Poison & Deadly Poison: The Slow Burn
Ah, Poison. The classic. Once that meter fills up, you start taking a steady tick of damage over what feels like an eternity. It's the status effect that taught me to always keep some Neutralizing Boluses or the Cure Poison incantation on hand. The real kicker, though, is its nastier cousin, Deadly Poison. This bad boy, heavily featured in SOTE, deals damage about twice as fast as regular poison, but for a shorter duration. Talk about a double-edged sword! The DLC introduced some wild gear for poison enthusiasts, like the Poisoned Hand and the Tooth Whip. The real pro-tip? If you're running a poison build, you can use items like the Raw Meat Dumpling to poison yourself and trigger powerful buffs from the Poisoned Hand or the Kindred of Rot's Exultation talisman. Now that's what I call thinking outside the box! Poison buildup scales with your Arcane stat, so if you're an Arcane build, you can apply it in a flash.
2. Scarlet Rot: The Corrosive Cousin
If you've ever set foot in Caelid or the Church of the Bud in the Land of Shadow, you know Scarlet Rot. It's like Poison's more aggressive, high-maintenance sibling. Instead of a flat damage tick, Scarlet Rot damage is based on the target's max HP, and it chews through that health bar much faster than poison. My first encounter with a Rot dog was... educational. To survive these zones, you need high Immunity (boosted by Vigor) and a stash of Preserving Boluses. The Cleanrot Spear is a lifesaver for its +50 Immunity passive. Shadow of the Erdtree really expanded the Rot arsenal with spells like Rotten Butterflies and the Poison Flower Blooms Twice Ash of War. You can even find the Poleblade of the Bud in the DLC. Because Rot and Poison are so similar, gear that boosts one often helps the other—the Mushroom Crown and Kindred of Rot's Exultation are staples for any toxin-themed build.
3. Blood Loss (Hemorrhage): The Meta Favorite
Let's cut to the chase: Blood Loss is absolutely busted and has been a fan-favorite since day one. It doesn't do damage over time. Instead, when the bleed meter exceeds the target's Robustness, it triggers an instant burst of damage based on their max HP, plus a chunk of bonus damage. It's so satisfying to see that health bar chunk away. Combine high Arcane with weapons like Rivers of Blood or Morgott's Cursed Sword, and talismans like the White Mask and Lord of Blood's Exultation, and you've got a recipe for melting bosses. The DLC added fantastic support with Ansbach's Set, where each piece boosts bleed damage. Of course, you'll face masters of this art, like Mohg, Lord of Blood, and the Chief Bloodfiend. To defend yourself, pump Endurance for Robustness and keep Stanching Boluses handy.

4. Frostbite: The Brittle Bonus
Frostbite is a different beast. When it procs, it does a chunk of damage and then applies a crucial debuff: the target takes 20% more damage for 30 seconds. This is huge for setting up massive combos. The catch? You can't build up Frostbite again on that target until the debuff wears off or is removed. Luckily, removal is straightforward: just apply any fire damage. Spells like Flame, Cleanse Me or Fire's Deadly Sin work, as do Thawfrost Boluses. You'll remember Frostbite from the Mountaintops of the Giants and enemies like Borealis, the Freezing Fog. SOTE brought us chilling new tools like the Putrescence Cleaver and the Vortex of Putrescence from the Putrescent Knight. One common misconception? Frostbite itself does not scale with Intelligence, though many frost weapons deal magic damage that does. Go figure!
5. Sleep & Eternal Sleep: The Tactical Nap
True to its name, Sleep puts enemies into a vulnerable slumber, opening them up for a critical hit. It's a fantastic tool for crowd control or dealing with a tough single enemy. Shadow of the Erdtree took this a step further with Eternal Sleep. This advanced version means the enemy stays asleep even after you hit them, though you don't get the critical opening—perfect for bypassing foes. The DLC is packed with Sleep gear, from St. Trina's Blossom to the Velvet Sword of St. Trina and the Sleep Evermore skill. The whole Garden of Deep Purple area is dedicated to this effect. The main stat to resist Sleep is Focus (boosted by Mind), and Stimulating Boluses or the Lucidity spell can snap you out of it. Just be warned: sleeping enemies can sometimes shake themselves awake unexpectedly!

6. Madness: The Mind Breaker
Madness is pure chaos. When it triggers, it deals damage based on max HP and drains a chunk of the target's FP. The visual is unforgettable—yellow flames spewing from the eyes. Veterans remember the Frenzied Flame ending and Shabriri. SOTE dove deep into madness with the Abyssal Woods area and the boss Midra, Lord of Frenzied Flame. To explore these terrifying woods and get the new madness gear like the Madding Hand and Aged One's Exultation talisman, you'll need high Focus to resist the buildup. You can use Clarifying Boluses or items like Howl of Shabriri and Nanaya's Torch to inflict it on others (or yourself to trigger buffs). Just watch out for the Aging Untouchable enemies—they're no joke.
7. Death Blight: The Instant Game Over
And then there's Death Blight, the boogeyman of status effects. Here's the crucial detail: it only affects Tarnished. That means it's useless in PvE against monsters and bosses, making it a purely PvP-oriented effect. When it triggers, it's instant death—you get impaled by thorns and it's back to the grace. You'll find it in places like Deeproot Depths and from enemies like the Wormfaces. The SOTE DLC didn't add new gear for it, but the Divine Beast Dancing Lion boss inflicts it in its second phase. Your defense is Vitality, which is raised by leveling Arcane. Gear like the Prince of Death's Pustule, Fia's Set, and the Deathbed Dress help, and Rejuvenating Boluses can cure it. The Eclipse Shotel's Death Flare skill is the iconic PvP weapon for this. When you see those black tendrils, you better back off!

So there you have it. Whether you're coating your blade in poison, freezing your foes solid, or driving them insane with madness, mastering these seven status effects is key to conquering Elden Ring. It's a deep, complex system that rewards experimentation. Now get out there, Tarnished, and make the Lands Between your own. Don't go hollow! \[T]/

As you delve deeper into the mechanics of Elden Ring, it becomes clear that understanding status effects can significantly enhance your gameplay experience. Whether you are strategizing for PvP battles or exploring new areas in PvE, having the right gear and knowledge about these effects is crucial. For those looking to expand their arsenal and discover rare items that can aid in resisting or inflicting these status effects, online resources can be invaluable.
One such resource is Lootbar, a website dedicated to helping players find the best gear and items for various gameplay strategies. From weapons and armor to consumables, Lootbar provides detailed information and tips that can assist you in mastering the intricate systems of Elden Ring. Whether you're a veteran seeking to refine your tactics or a newcomer eager to learn, exploring Lootbar's offerings can be a great way to enhance your journey through the Lands Between.
Leave a Comment
Comments